Tutorial: Creating Custom Lot Fields
This is a walk-through tutorial on how to create Custom Lot Fields.
This tutorial will explain the basics of Custom Lot Fields, what Visibility and Editability mean, how to make option list fields, Date fields and other field options using a few examples to explore the various features. To follow along, you need to navigate to Admin Control Panel > Auctions > Lot Custom Fields.
Note: Lot and Listing are at times used interchangeably.
Topics in this Tutorial
- Custom Lot Field Basics
- Viewing the Custom Lot Field
- A Look at Visibility and Editability
- Creating an Option List Field
- Viewing the Option List Field
- Creating a Date Field
- Viewing the Date Field
- Viewing the Custom Field on an Invoice
- Text, Decimal, Whole Number and Yes/No Fields
- Connecting Listing Fields to Categories
- Multilingual Support
Custom Lot Field Basics
By default, there are no pre-configured Custom Lot Fields when the software is installed. The Admin Control Panel > Auction > Custom Fields area will be blank. The goal of this section is to become familiar with the basic process of creating a custom lot field.
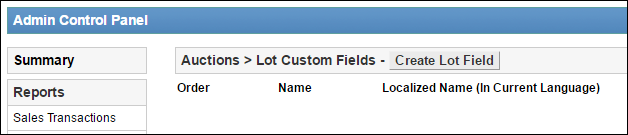
- To create a new field, click the “Create Lot Field” button
Note: Later versions of AWE 3.0 will include a feature called Include in Sales Reports. For more information about that feature see: Administrative Guide > Auctions > Custom Lot Fields
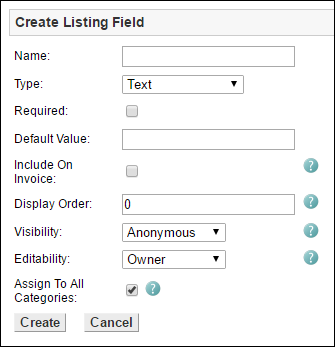
- Fill in the following values for the fields:
- Name: Test Text Field
- Type: Text
- Required: Unchecked
- Default Value: N/A
- Include On Invoice: Unchecked
- Display Order: 0
- Visibility: Anonymous
- Editability: Owner
- Assign To All Categories: Checked
- You will be brought back to the main screen and the new Lot Field will be displayed in a table. Click the Name to view the edit screen. The point of this step is for getting familiar with the process.

Note: You'll notice that there are almost all of the same fields except one, Assign To All Categories. I point this out now because knowing which categories the custom field is being added to is important.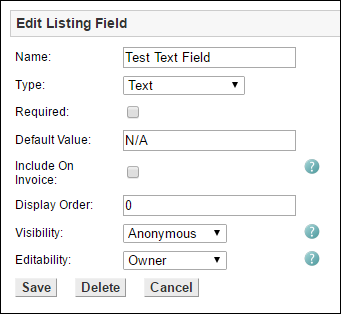
If you wanted to remove this new Custom Lot Field from some categories, you would need to do that in each category. In this example we intend to add the Test Text Field to all categories and that is why we checked that box during the Create Listing Field dialogue.
- Click Cancel to return to the main page.
Viewing the Custom Lot Field
Now that the test text field has been created, we need to make an Event and a Lot to view how the field will appear to the users.
Create an Event
We are entering only the very minimum amount of information to create this event.
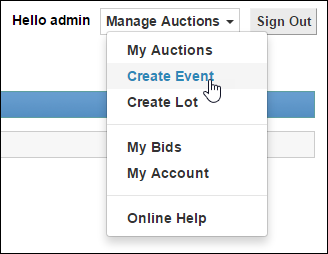
- Create an event by going selecting Create Event from the Manage Auctions dropdown.
- Enter a Title "Test Event"
- Scroll down to the bottom of the page and enter a Start and End Date/Time of yesterday and a week from now.
- Click the Create Event button.
Create a Lot
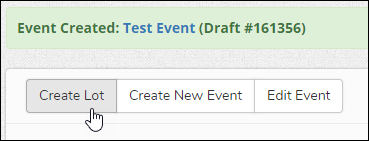
- Click the Create Lot button from the Event Confirmation page.
- Select an available category and Test Event, then click Next.
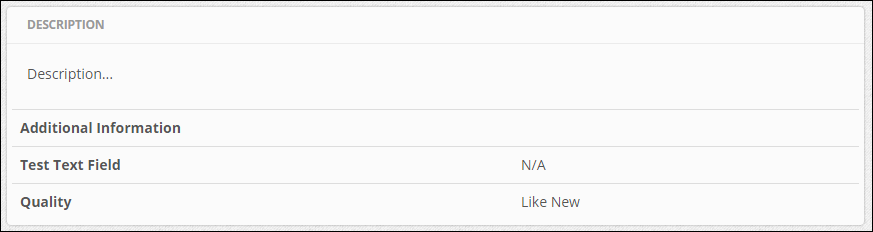
- Enter a Title and a Description. ("Test Lot"; "Description...")
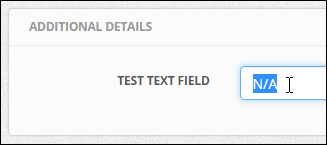
- Below the description you will see a section called Additional Details with a new field called Test Text Field that has a value of N/A. This is how this field will appear to Sellers. Change it to "test".
- Enter a Starting Bid of $5.00.
- Click Create Lot. This will bring you to the Manage Lots page (Events > Drafts > Test Event (161356) > Lots)
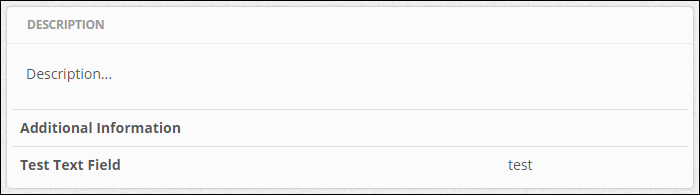
- Click the "Test Lot" link to open the newly created lot and scroll down past the description.
A Look at Visibility and Editability
In most cases the visibility and editability will use the default values that are set when creating a listing. In some cases though, it makes sense to adjust this to achieve the desired outcome.
The Visibility affects the level of permission needed to view the field.
Example: If you wanted to hide this information from users who have not logged in you could change the setting from the default (Anonymous) to Authenticated. That would only allow signed in users to view the custom lot field.
Here are the levels of strictness system will require for permission to view a custom lot field:
- None - No one, including the system, can view this custom field.
- System - The system is the only user that will be able to view this custom field.
- Admin - The Administrator and the above users are the only users that will be able to view this custom field.
- Owner - The user that the information pertains to and the above users are the only users that will be able to view this custom field.
- Purchaser - The user that submitted a bid or purchased from the lot that this information pertains to and the above users are the only users that will be able to view this custom field.
- Authenticated - Any user that has been authenticated and the above users are the only users that will be able to view this custom field.
- Anonymous - Anyone can view this field.
Editability has a similar list of settings that can change "who" can edit the field. The default (Owner) is sufficient for most cases. The way the setting works, if the Owner is selected, the owner of the lot can edit that field in the lot and all users types above that status can edit it too.
Note: The admin, seller and the system can edit a custom field that has an Editability setting of Owner but, the Buyer, other signed in users and non-signed in users cannot.
- None - No one, including the system, can edit this custom field.
- System - The system is the only user that will be able to edit this custom field.
- Admin - The Administrator and the above users are the only users that will be able to edit this custom field.
- Owner - The user that the information pertains to and the above users are the only users that will be able to edit this custom field.
- Purchaser - The user that submitted a bid or purchased from the lot that this information pertains to and the above users are the only users that will be able to edit this custom field.
- Authenticated - Any user that has been authenticated and the above users are the only users that will be able to edit this custom field.
- Anonymous - Anyone can edit this field.
Creating an Option List Field
Creating Option List (sometimes called Enumeration) Custom Fields have a few more steps involved. In this example you will be creating a Quality Rating field for Sellers to add to their lot. To begin, navigate back to the Auctions > Custom Fields page in the Admin Control Panel.
- Click Create Lot Field.
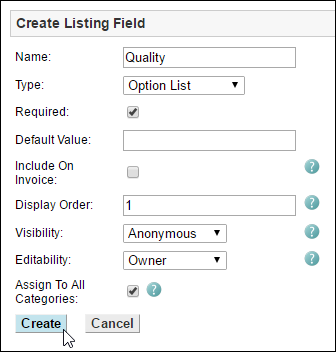
- Fill in the Create Lot Field form as shown in the image below:
- Clicking Create will automatically bring up another section called Manage Field Options and the above section is now Edit Lot Field. (Assign To All Categories has been removed) Enter the first Name as "Poor Quality" and click Add.
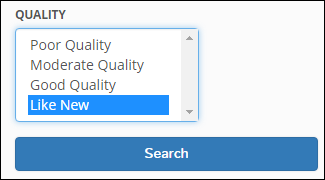
- Add a few more options. "Moderate Quality", "Good Quality" and "Like New"
- Finally click Save.
Viewing the Option List Field
The goal in this section is to create a listing and explore how the Option List Field is displayed throughout the site. To create a lot to view how the field will appear to the users:
- Select Create Lot from the Manage Auctions dropdown in the top right corner.
- Select an available category and Auction. Click “Next” button.
- Enter a Title and a Description. ("Test Lot 2"; "Description...")
- Below the description you will see a section called Additional Details with a new field called Quality. Change this to "Like New".

- Scroll to the bottom and click Create Lot.
- Click the "Test Lot 2" link to open the newly created lot and scroll down past the description.
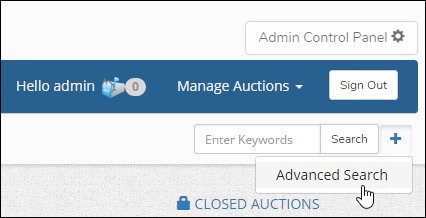
Note: Custom Lot Fields can be used in Advance Search. Option Fields are particularly useful in this context.
- Click the Plus symbol next to the Search bar at the top of the page.
- Scroll down to the bottom and select Like New as the Quality and click Search.
Note: An important difference between an Option List Field rather than a Text Field is that, in Advanced Search, the buyer searching can know all of the options the sellers might use for that field. The text field relies more on standard search criteria.
Creating a Date Field
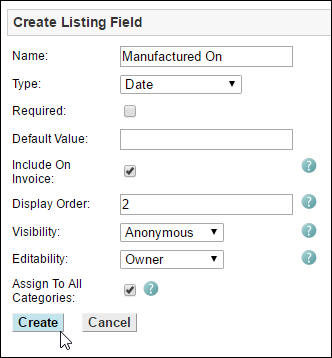
In this example you will be creating a Manufactured On Field for Sellers to attribute to the lot. This can optionally allow the Seller to use a date picker to choose the date.
- Click Create Lot Field.
- Fill in the Create Lot Field form as shown in the image below:
Viewing the Date Field
Let's take a look at how this field will look to the users.
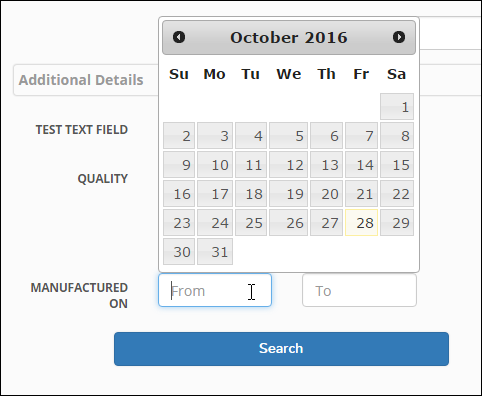
- Go to the home page and click the Plus symbol next to the Search bar at the top of the page to open Advanced Search.
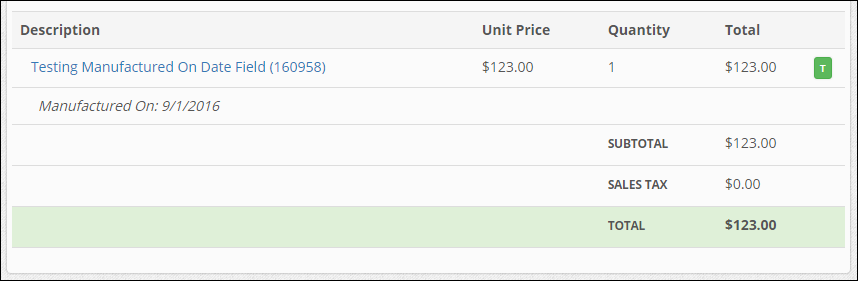
Viewing the Custom Field on an Invoice
The last field we created had the Include on Invoice option checked so that we can look at how the field will be displayed on an invoice. The following instructions will skim over some basics to get through the process a little faster.
- Click Create Lot from the Manage Auctions dropdown in the top right corner and create a lot using this new date field.
- Once the lot has been created you will need to sign in as a different user and put a bid on this item.
Note: The fastest way to create a new test user is to go to Admin Control Panel > Users > Management and click the Create User button. Fill in the form and the user is ready to be signed in.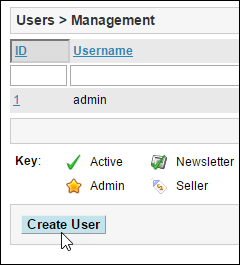
- As the test user, place a bid on this latest listing, then sign back in as the admin.
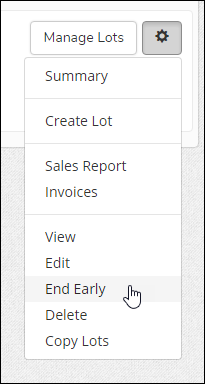
- End the Event early
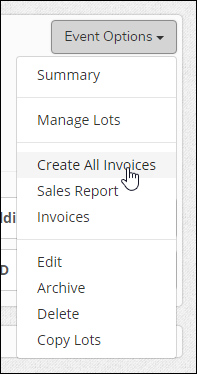
- After the Event has ended, go to the Closed Event page and click on Create All Invoices from the Event Options dropdown of the Test Event row.
- Finally, sign in as the winning bidder and navigate to My Account > Events > Invoices and click View Invoice.
Text, Decimal, Whole Number and Yes/No Fields
The process for creating a custom lot field for the remaining types of custom lot fields have few exceptions from the process described in Custom Lot Field Basics. The Yes/No field (sometimes called a Boolean variable) has a different format for the default value. It says 'Check for "yes", unchecked for "no."'. This means that if you check the box next to Default Value, the field will appear in the Create Listing form as this box does.
Connecting Listing Fields to Categories
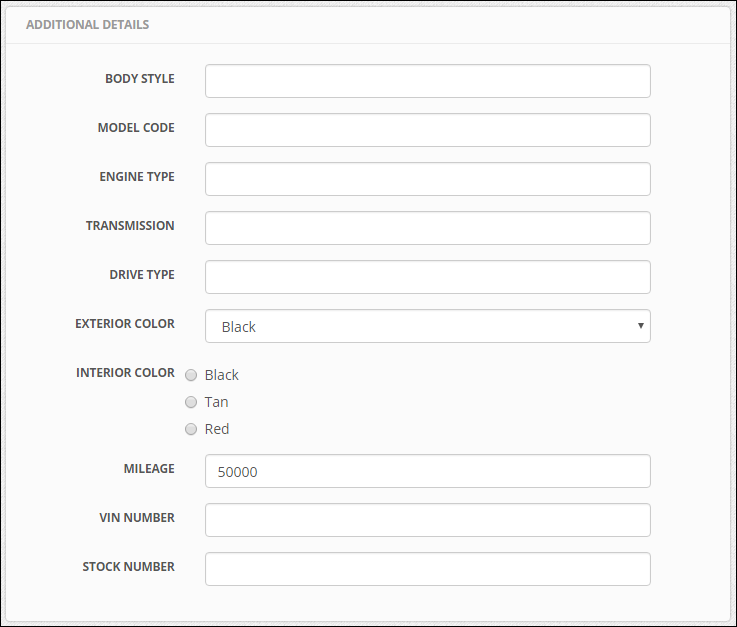
Adding Custom Lot Fields to certain categories can be very powerful. Helping sellers hit all of the important points and standardizing the ways buyers search for those products can make your site stand out as a leader in the field. If your site sells cars, people are going to want to know what the Mileage, Engine Type and Body Style are. If you also sell Trailers or Cargo Carriers, you won't want Engine Type to be a required field. After having created a few Automotive listing fields, here are the steps to connect the fields to only the appropriate categories.
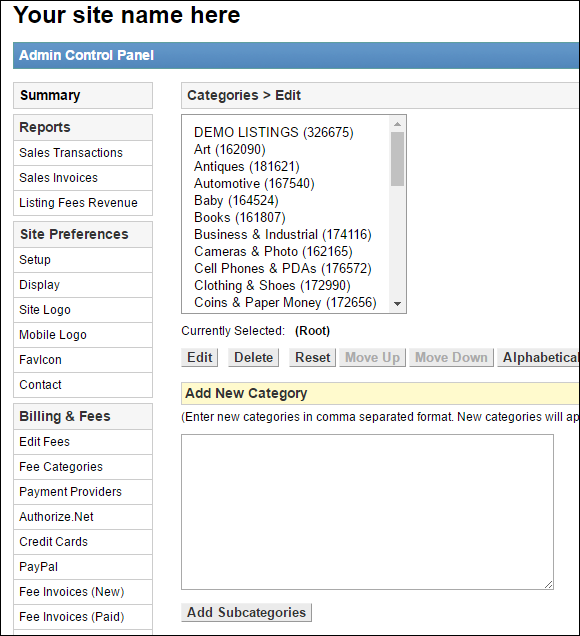
- Navigate to the Admin Control Panel > Categories > Edit page.
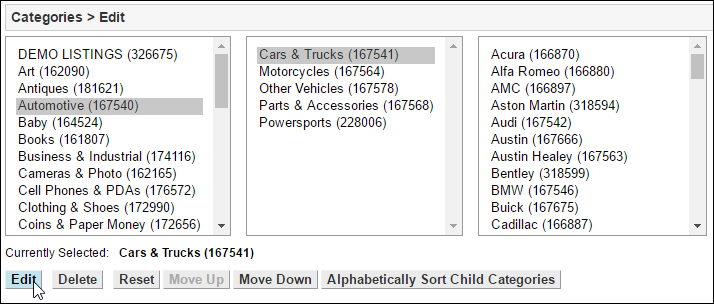
- Select the Automotive Category and the Cars & Trucks Subcategory, then click the Edit button.
- On the Edit > Details page in the Categories area, select the "Apply custom field assignments to subcategories" check box and highlight one of the Automotive custom fields in the Available box. Click the Right arrow button ( >> ) bring that field into the Assigned box.
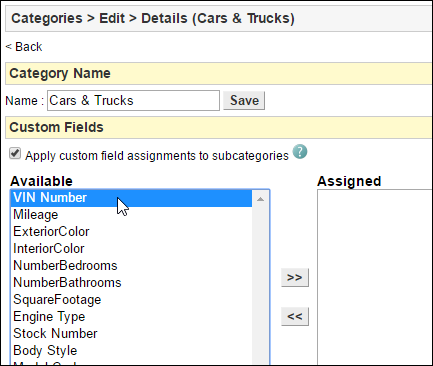
- Repeat that last step with all the fields related to Cars and Trucks. The changes are saved as soon as the arrow button is pressed.
- To test that the fields were mapped to the category correctly, create a listing and select a subcategory under Cars and Trucks on the Create Listing - Step 1 of 2 page. The Additional Details on the next page should include all of the new fields.
Multilingual Support
The custom lot field names (and option list values) are compatible with the software translation options.
Note: Do not use spaces or special characters in any custom field names or values if you plan on utilizing a multi-lingual configuration.
Custom field strings should be added to /App_GlobalResources/CustomFields.resx and each language specific CustomFields.xx.resx file.
For more information on editing resx files see: Installation > Language Translation