User Account Info
This page is for editing the user's basic account information as well as many other user properties. This page is also used for marking a user's status such as verified or validated.
Username – This is a unique identifier selected by the user during registration.
Password – The user passwords are not displayed. To change a user's password, enter it here. Passwords must be between 6 and 100 characters.
Confirm Password – Re-type the password entered in the "Password" field above when changing a user's password.
Email – This is the email address assigned to the account. Different user accounts cannot have the same email address.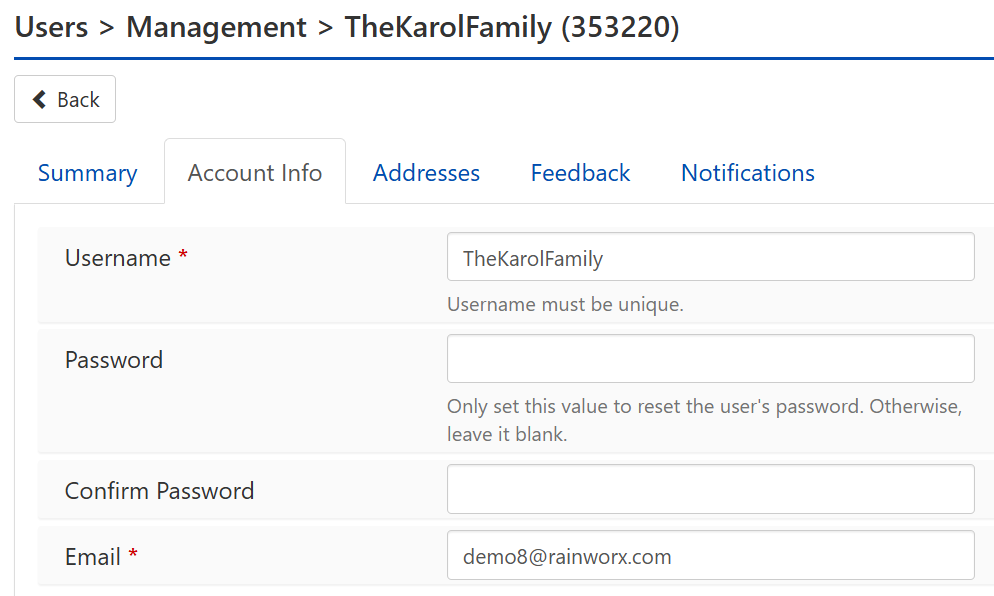
Web API Authentication Token – This is the Web API Authentication Token that is used for this user.
Generate – This button generates a new Web API Authentication Token for the user.
Note: Web API Authentication Token and it's Generate button will not be displayed if the Enable Web API setting, found on the Site Preferences > Setup page is not checked.
Roles
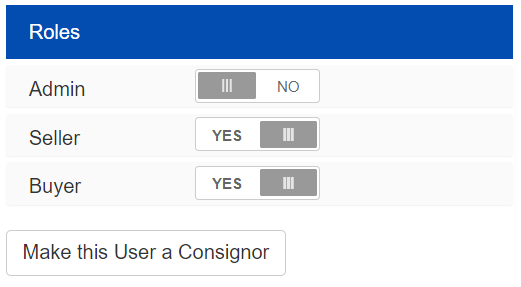
- Admin – The user can access the Admin Control Panel and make administrative changes to the website and listing data.
- Seller – The user can create listings and issue invoices for sales.
Note: The Seller role adds the Listings section as well as a Listing Preferences sections to the My Account area for the user.
- Buyer – The user can place bids and make purchases. The Bidding section and the Invoices > Purchases segment will be available in the My Account area.
Note: The Buyer role adds a Bidding section to the My Account area for a user.
-
Make this user a Consignor - This button will open the Create Consignor form with the user's basic information pre-filled.
Note: This button will only appear if the Enable Consignors setting is turned on.
Account Status
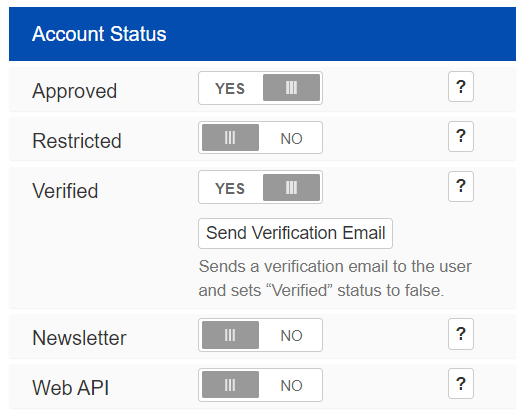
- Approved – When enabled, the user is approved (applicable when new users are not approved by default).
- Restricted – When enabled, the user is prevented from signing in.
Note: After Restricting a user, there will be links just below this setting. One to review the Listings that the user has active bids on and another to review the Listings that user has won. These links will also be available on the User Summary page.
- Verified – When enabled, the user has completed the email verification process.
- Newsletter – When enabled, the user has elected to opt-in to newsletter emails
- Web API – When enabled, the user may access the Web API.
Send Verification Email – This button will send a verification email to the user and sets that user's Verified status to false.
User Details
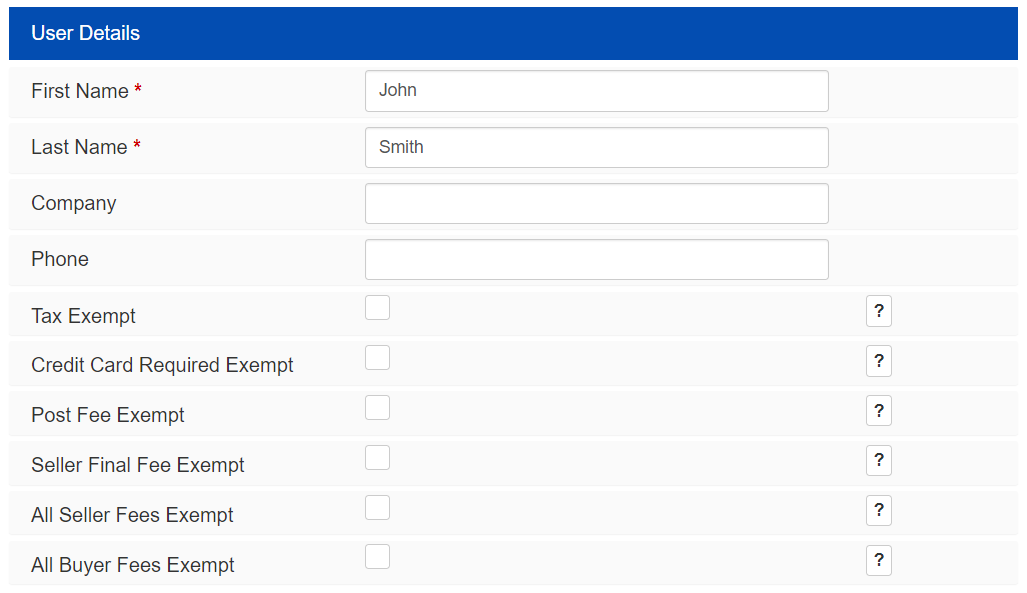
First Name – This is the user's first name
Last Name – This is the user's last name
Company – This is the user's company name
Phone – This is the user's phone number
Tax Exempt – If enabled, taxes will be excluded from all invoices where this user is the payer.
Credit Card Required Exempt – If enabled, this user will be able to place bids or create listings without entering in a Credit Card, even if “Require Credit Card for Buyers and/or Sellers” is turned on.
Post Fee Exempt – If enabled, this user will not be charged the Post Fee
Seller Final Fee Exempt – If enabled, this user will not be charged the Seller Final Fee
All Seller Fees Exempt – If enabled, this user will not be charged any seller fees
All Buyer Fees Exempt – If enabled, this user will not be charged any buyer fees
Note: Custom user fields will appear here.
Seller Settings

Allow Instant Checkout – This will be checked if the user is allowing their bidders / buyers to check out immediately with PayPal; This requires no additional input from the Seller. If unchecked, the Seller will need to manually create individual system sales invoices.
Note: The Allow Instant Checkout option will be hidden if the Billing & Fees > Sales Payment Options: Auto Generate Invoices option is turned on.
Stripe Credentials – This field will normally read No with an option to Use Site Stripe Credentials or it will read Site Credentials with an option to Delete the credentials associated with this user. If a third party Stripe account is connected, it will display the Stripe Account ID.
Note: To connect a seller to their own Stripe account, that user (or you can Impersonate that user) can use the Connect with Stripe button, found on the My Account > Listing Preferences > Payment page to enter their Stripe credentials. See the Strip Tutorial for more information.
Note: Stripe fields will only be available if Stripe is enabled from the Billing and Fees > Payment Providers section.
Accept PayPal – The user has enabled the ability to collect payment for their sales through the standard PayPal service.
PayPal Email – The email address associated with the user’s PayPal account.
Payment Instructions – Additional notes entered by the user containing payment instructions for their sold goods.
Default Invoice Comment – This text or HTML code will automatically be inserted into the Comments section of the user's new sales invoices.
Buyer's Premium (%) – This amount is added to each new buyer's invoice from this user.
Note: Buyer's Premium (%) is only displayed when Listings > Preferences: Enable Buyer's Premium is checked
Credit Card Fee (%) - If greater than zero, this rate will be used to calculate the "Credit Card Fee" amount applied to sales invoices; applies to the final invoice total including item prices, shipping, taxes and any other fees or adjustments.
Accept Cash - When enabled, if a "Credit Card Fee" is configured then it will not be automatically added unless the buyer checks out with a credit card. When disabled, if a "Credit Card Fee" is configured then it will be applied to sales invoices automatically.
Note: The Credit Card Fee (%) and Accept Cash settings are enabled from the Billing & Fees > Sales Payment Options page.
Consignment Settings
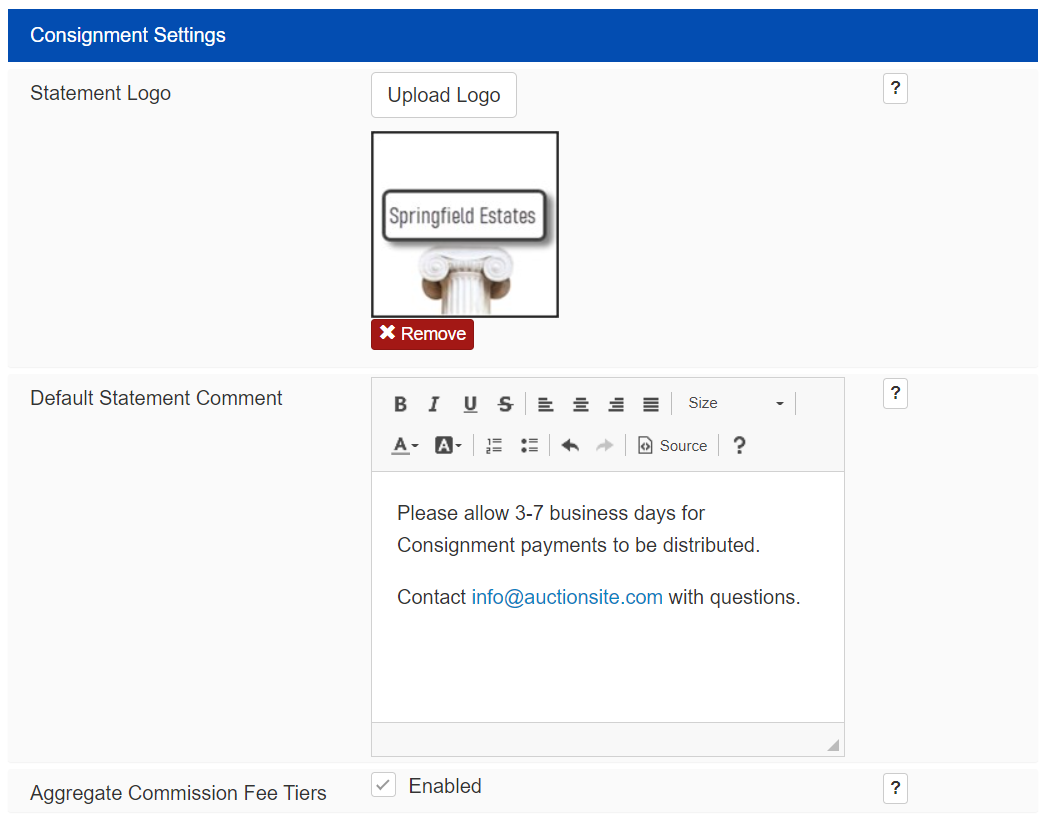
Statement Logo - Click the Upload Logo button to change the Logo that is displayed on the Statement.
Default Statement Comment - This area can contain text or HTML code to be displayed on a Statement .
Aggregate Commission Fee Tiers - When enabled, the Statement Fees from this seller to a Consignor will be summed across all of the tiers that are at or lower than the Final Price.
Comments
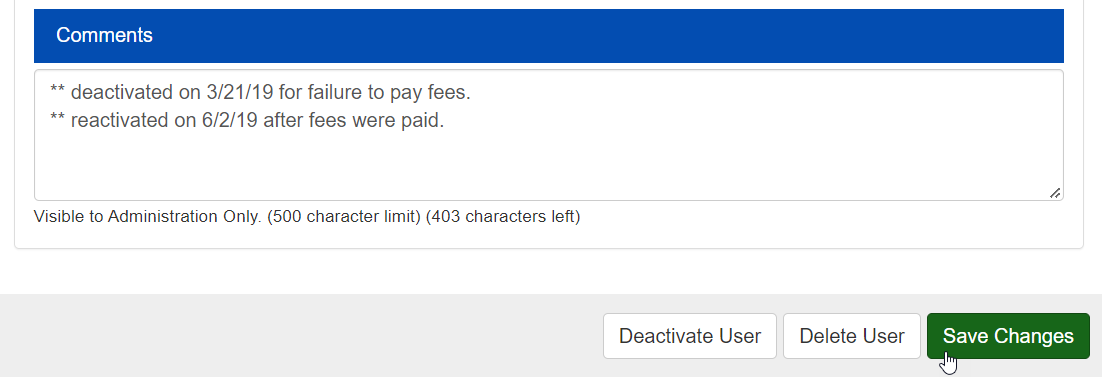
Comments – This text area is used for administrative notes that are not visible to the user, only an admin user.
Deactivate User – This option will stop a user from signing in, and the user will no longer appear in default User Management Views. Deactivating a user account instead of deleting it also has the benefit of preventing a user from re-registering using the same email and/or username in the future.
Delete User – Deleting the user account will remove all associated records. This includes sales transactions, bid/purchase history, user feedback, invoices, messages, and listings created.
Save Changes – Apply all changes made to the account.