Banners
This section provides settings related to banner ads.
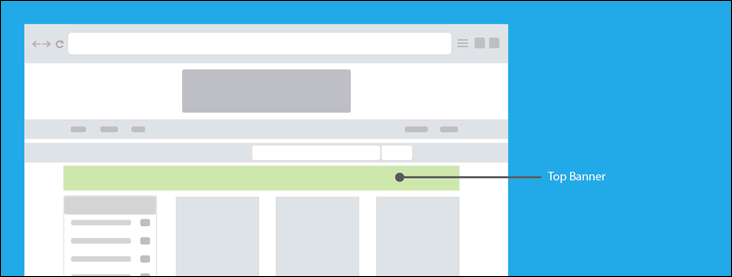
Top Banners To Display - Indicates the number of randomly selected banners to display at the top of certain pages.

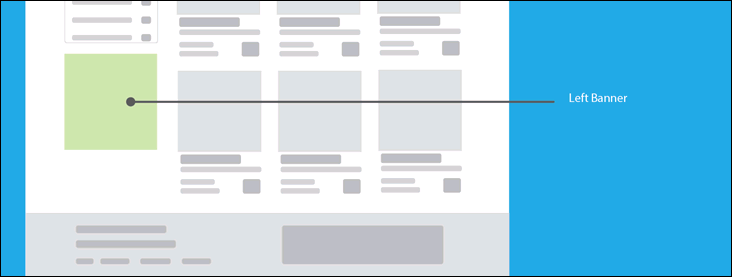
Left Banners To Display - Indicates the number of randomly selected banners to display on the left side of certain pages.

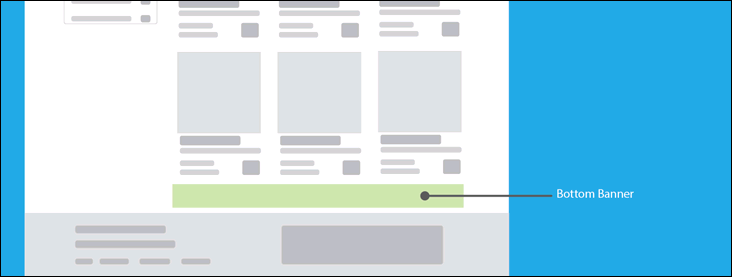
Bottom Banners To Display - Indicates the number of randomly selected banners to display at the bottom of certain pages.

Creating a new banner
- First, click the "Create Banner" banner button to display the "New Banner" forms.
- Next, select a location ("TOP", "LEFT" or "BOTTOM")
- If uploading an image, enter the Link the user will be taken to when they click on the banner.
- If entering HTML or JAVASCRIPT, leave the Link value blank.
- Next, either upload the banner image or enter the required HTML/JAVASCRIPT code.
- Optionally, select one or more Categories and/or Regions.
- Click the appropriate Create Banner button to save the new banner.
Assigning Banner Categories or Regions (optional)
These options allow the administrator to control which banners will be eligible to be displayed on certain pages.
If no categories or regions are specified, the banner will be eligible to be displayed on the homepage and any page where more specific banners are not available.
Example: If the "Antiques" category is assigned to a banner, that banner will only be displayed on pages where the user is browsing the "Antiques" category, sub categories of "Antiques", viewing a listing assigned to "Antiques" or a sub category of "Antiques".
Essentially, a banner assigned to categories and/or regions will be displayed on a smaller range of pages than a general banner.
