Setting up Google ReCAPTCHA v3 (Advanced)
This tutorial is for setting up Billing for Google ReCAPTCHA if the standard free 10,000 requests per month are not sufficient.
- First, while logged into the appropriate Google account, visit the following link: https://console.cloud.google.com/billing
-
Click the + Create Account link.

-
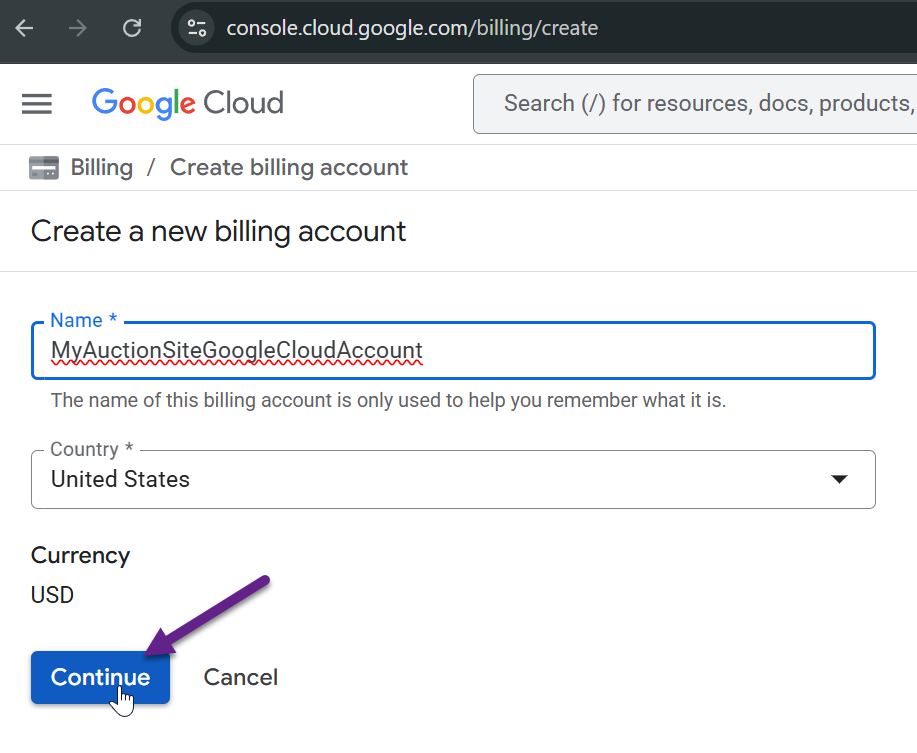
Enter a Name for the account that is meaningful, then click Continue.
-
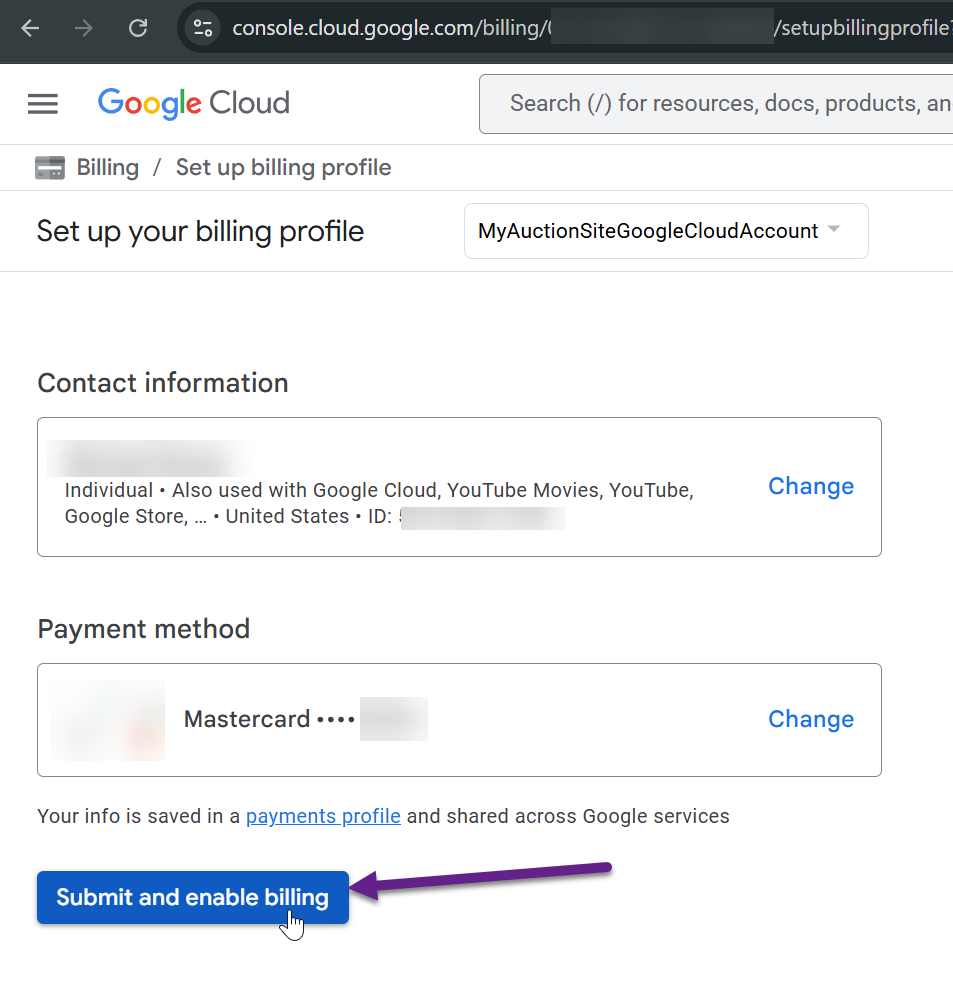
If you already have a billing account setup for another Google service, it will add that information by default. If you want to use a different payment method, this is an opportunity to change this. Click Submit and enable billing.
-
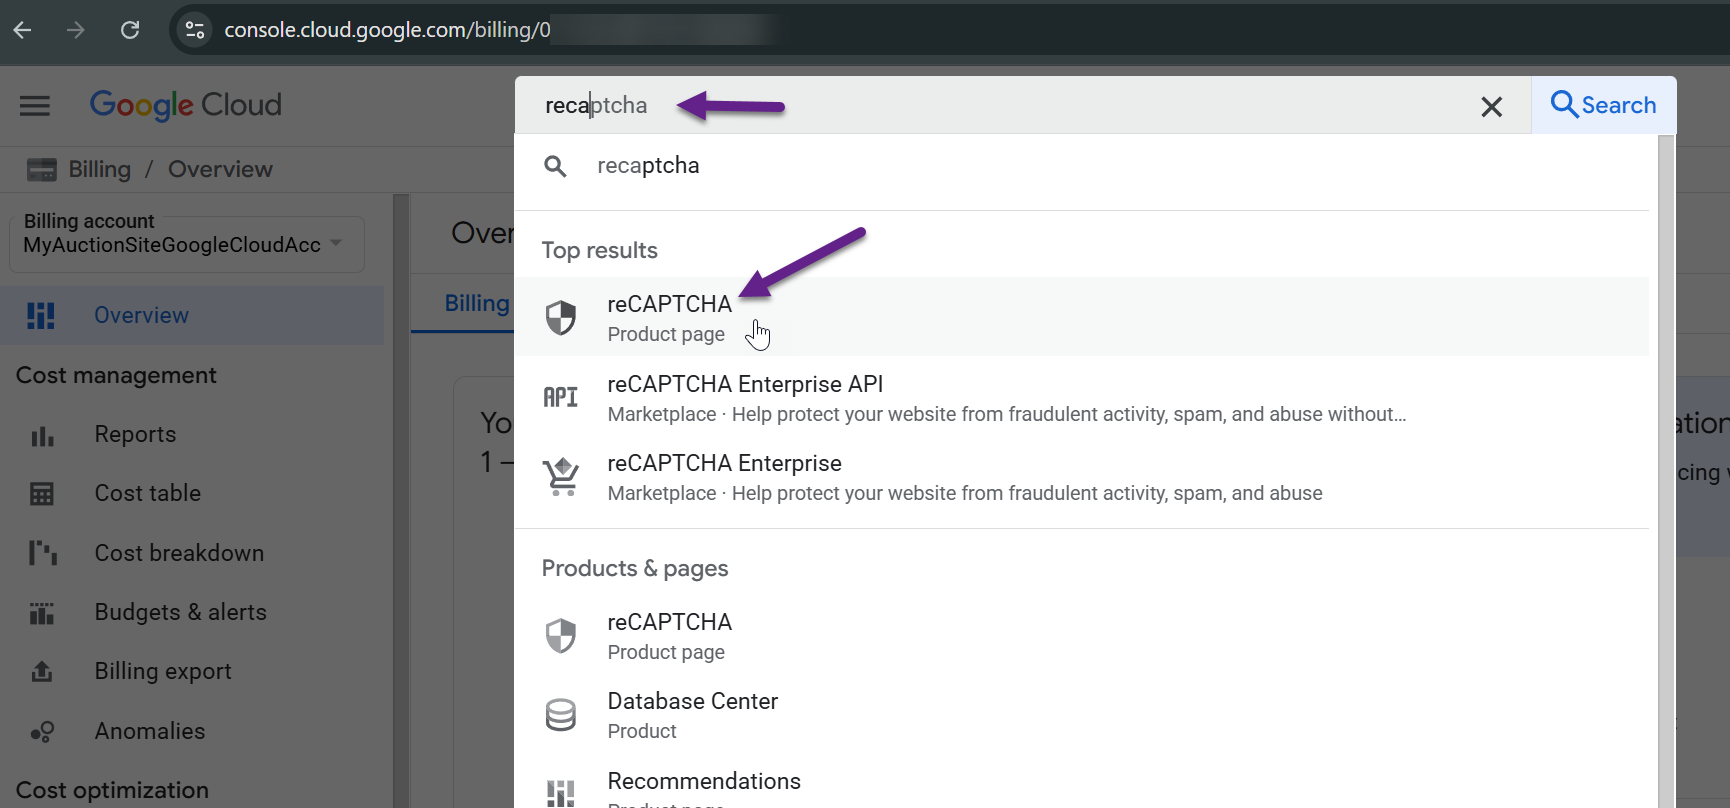
Now that your billing account is setup, search in the Google Cloud Console search bar for "recaptcha" and click on the reCAPTCHA Product page.
-
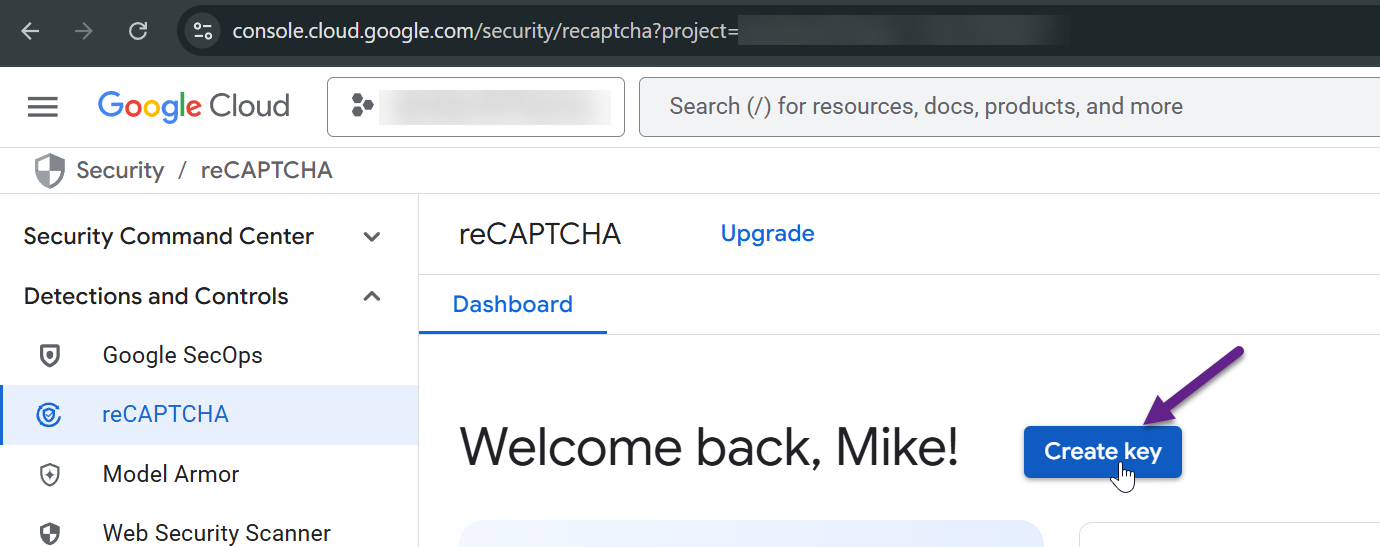
The following page may look different if you've created a reCAPTCHA key in the past. Click the Create Key button.
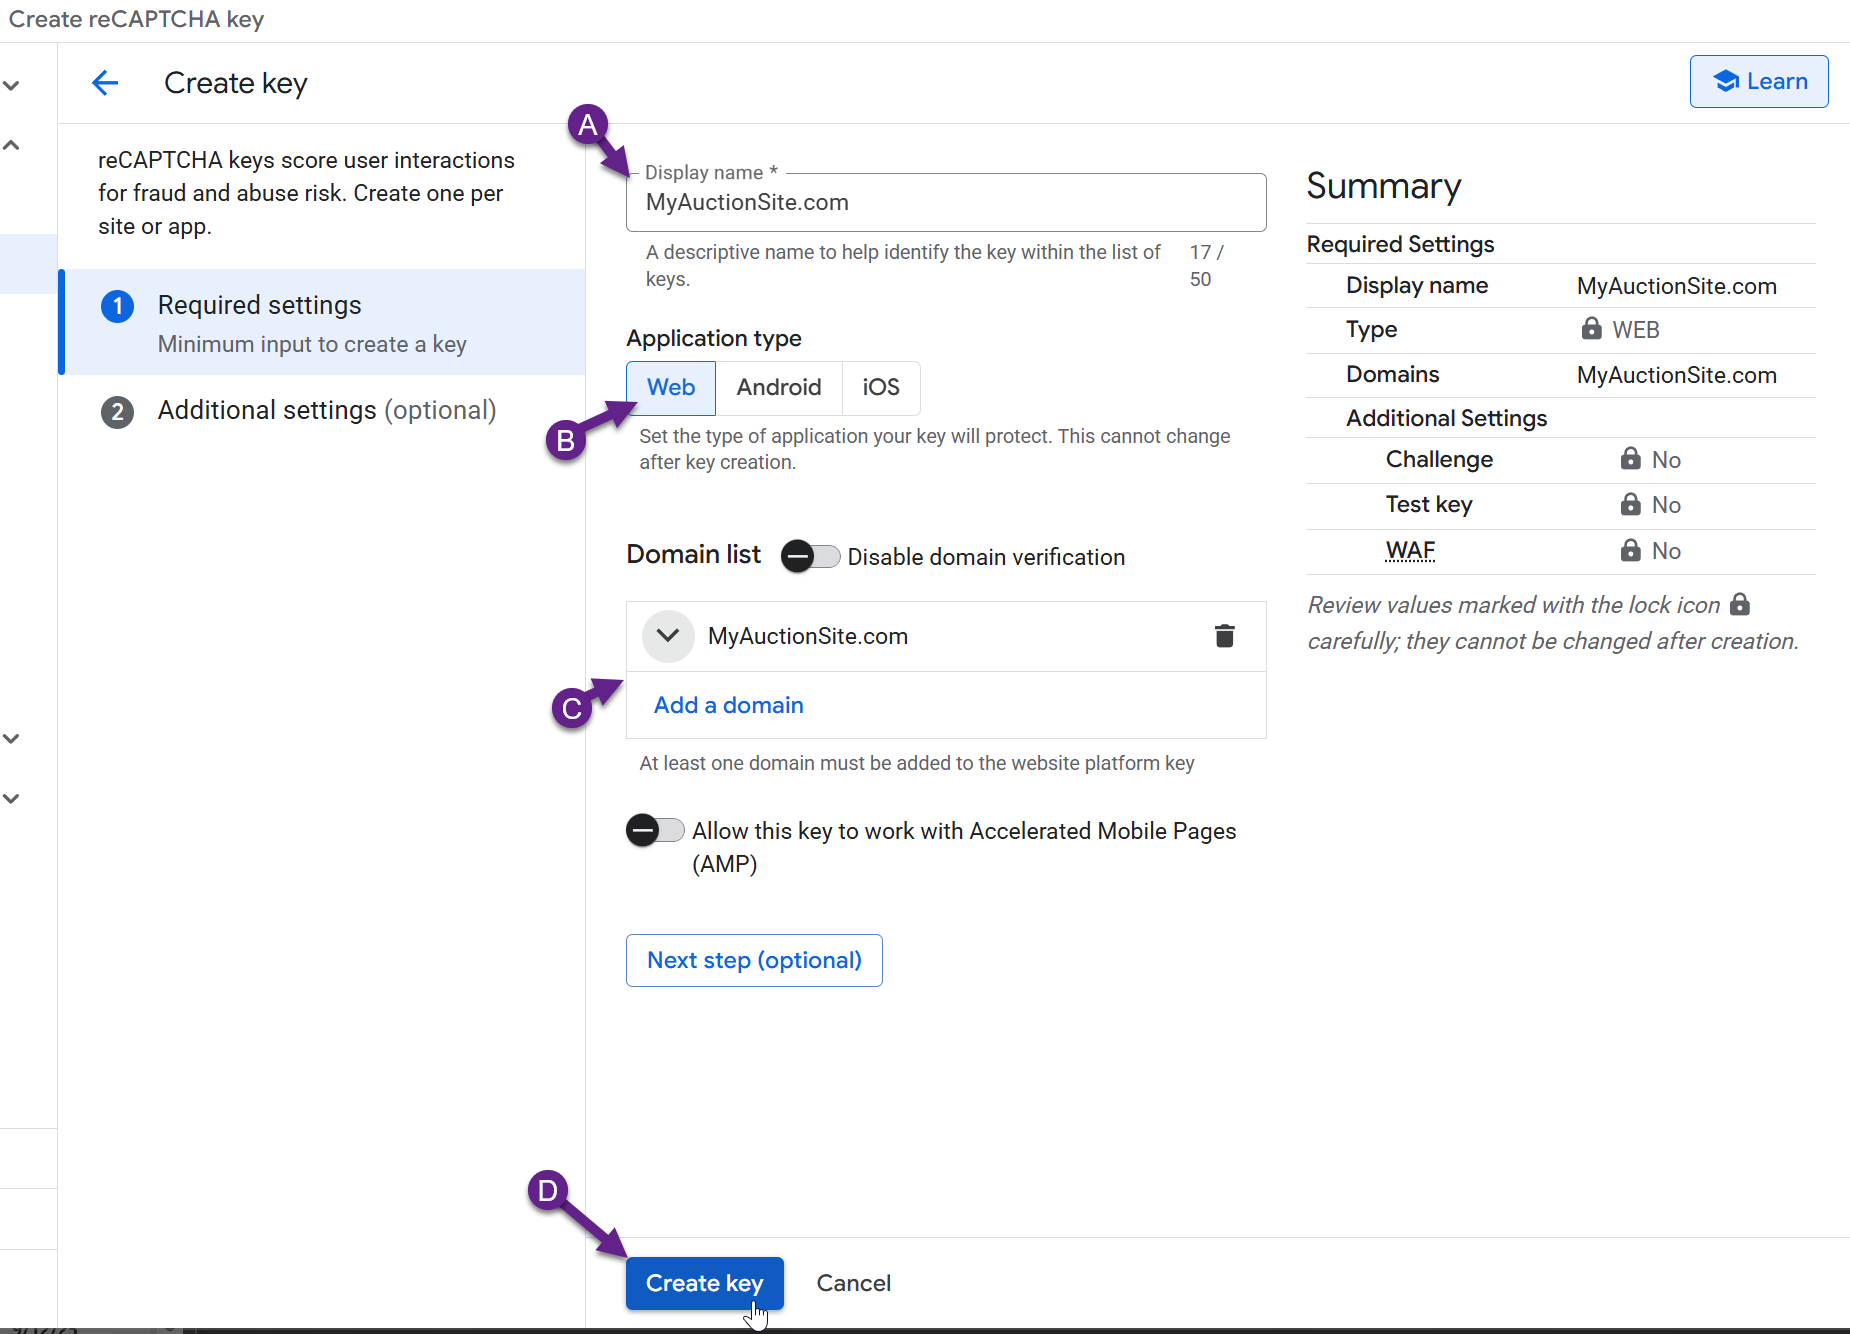
Fill in the form to create the key:
- Enter a Display name (use the domain name).
- Select Web for the Application type.
- Add your domain name (Example, MyAuctionSite.com).
- Click Create key.
-
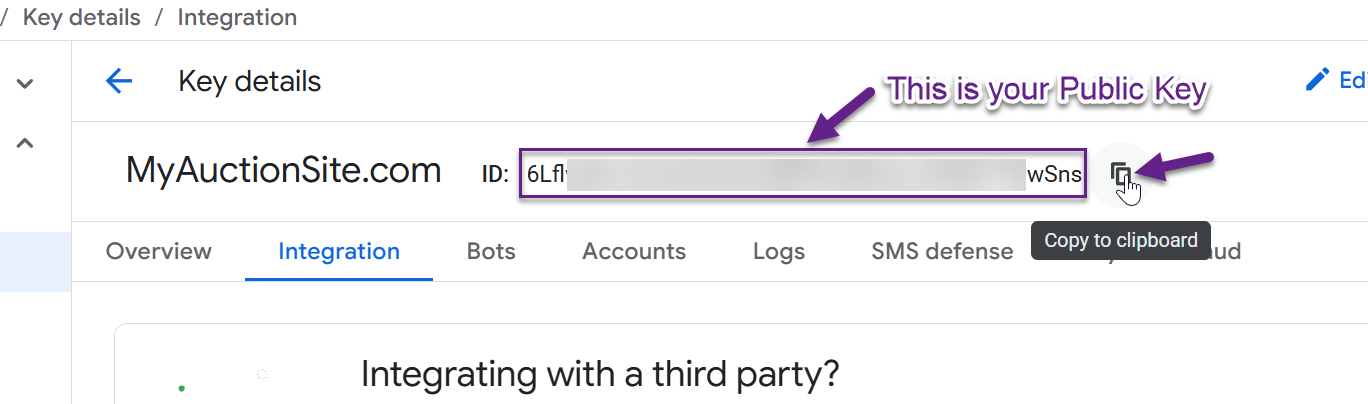
On the Key details page, copy the Public key from the top of the page. Save this to your notes as a Public key.
-
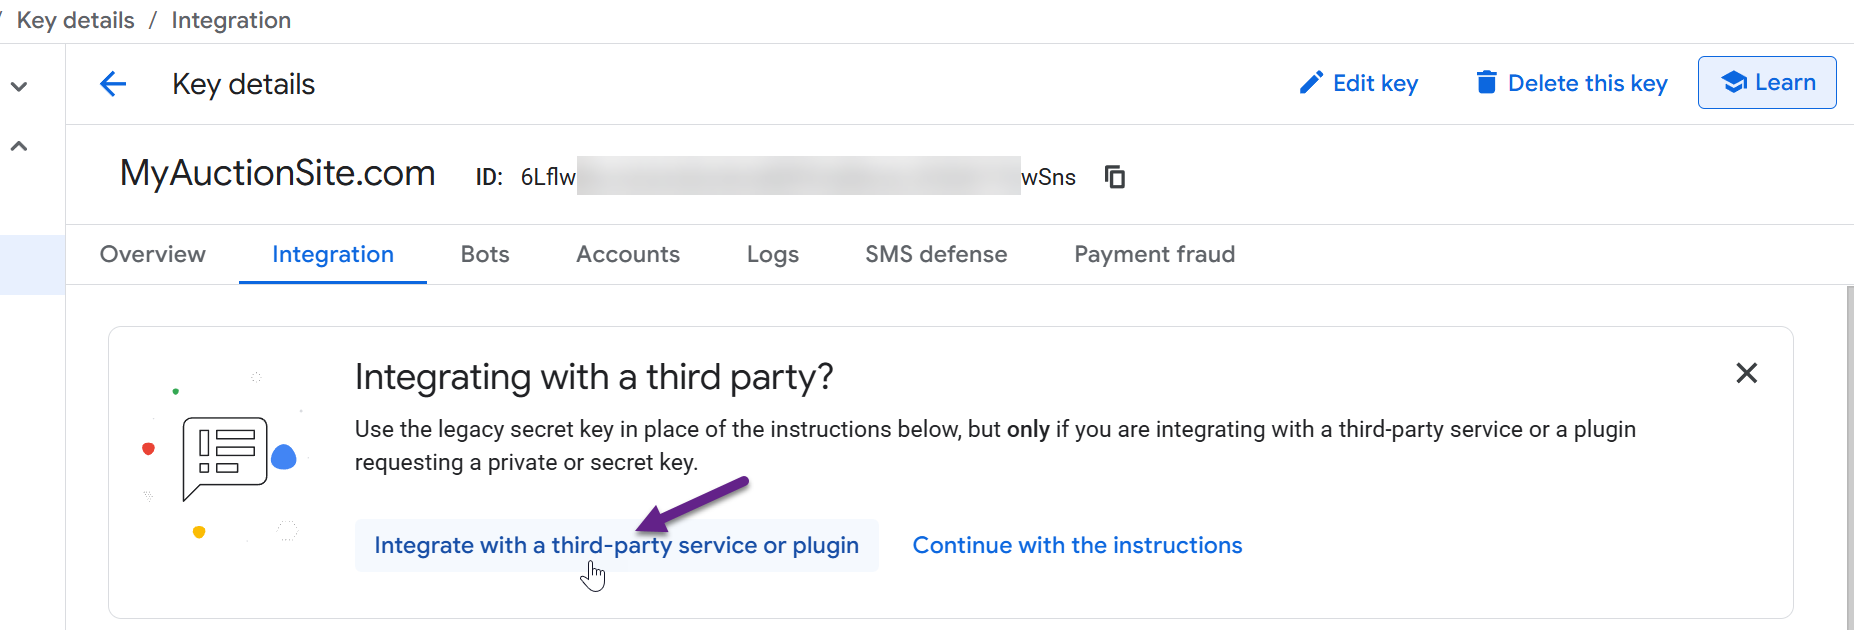
Just below that, you should see an "Integrating with a third party?" option. Click the Integrate with a third-party service or plugin link.
-
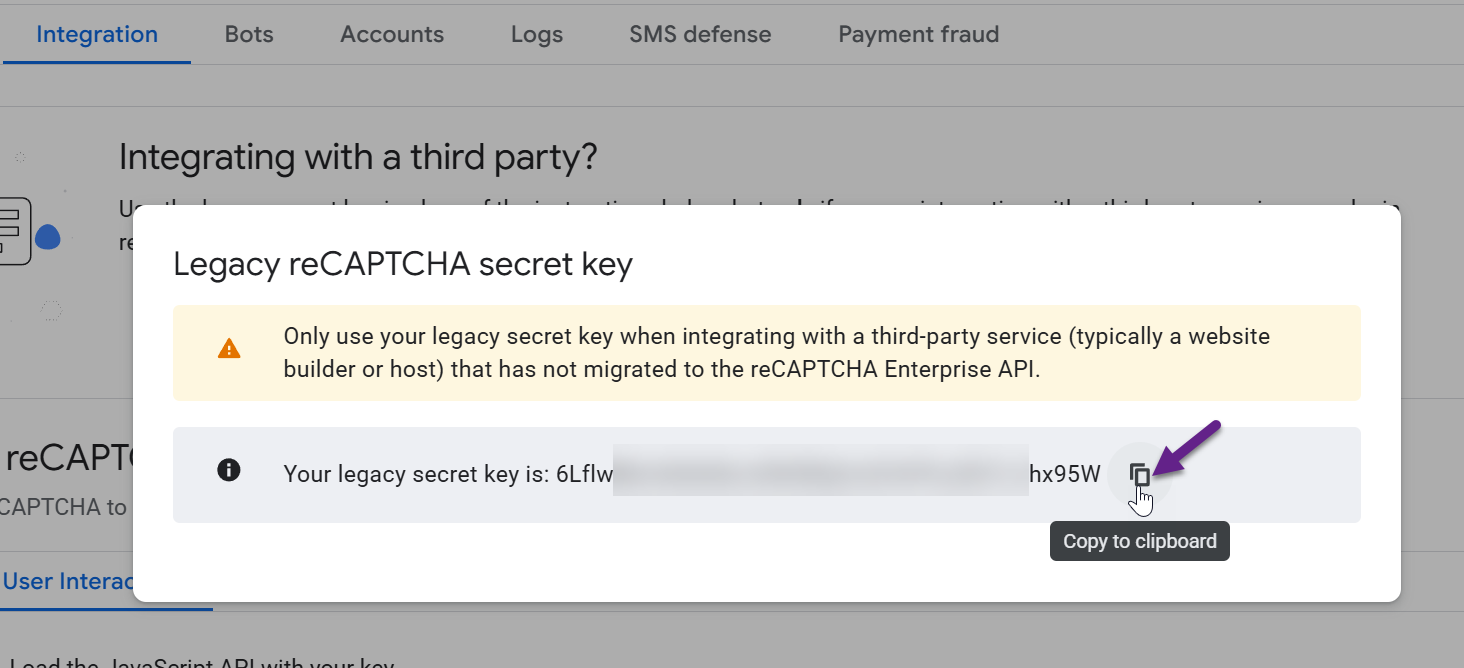
Copy the Secret key to your notes.
-
On your AuctionWorx site, navigate to the Admin Control Panel > Site Preferences > Contact page to enter your Public key and Secret key.
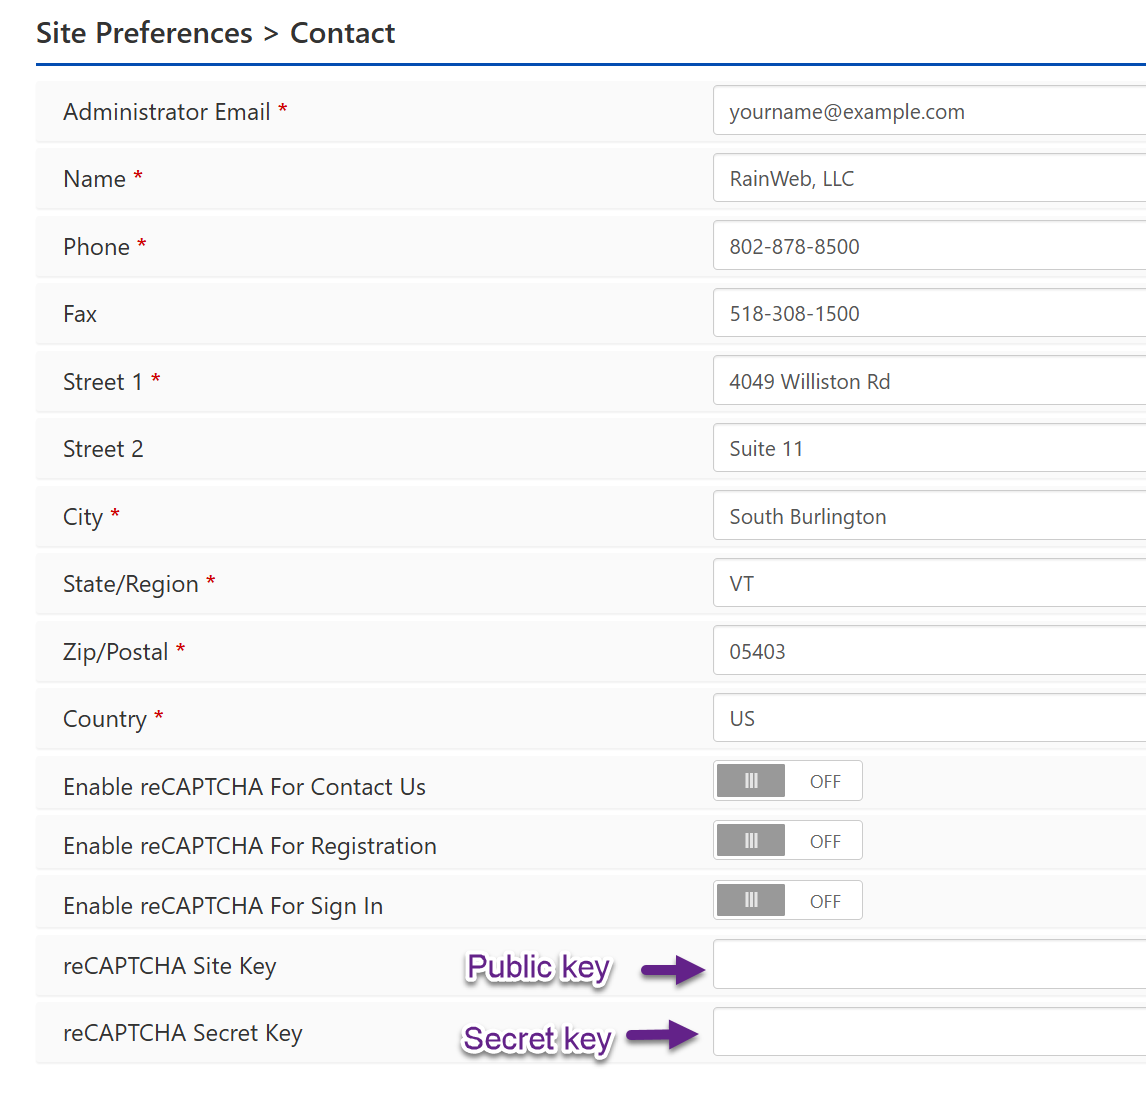
-
Click Save Configuration.
Note
With the new keys entered, test the reCAPTCHA first on the Contact Us form. Turn the setting on and then visit the Contact Us form to confirm that the Submit button works as expected. If confirmed, you can also enable reCAPTCHA for the Registration and Sign In pages.